- Docs
- Getting started
- Your first week: set up in the right order
Your first week: set up in the right order
A simple order of work for your first week, from site settings and dogs through to sharing your finished website.
Updated September 2, 2026
On this page
- What this is for
- Where to find it
- Day 1: settings and branding
- Day 2: your dogs
- Day 3: litters and puppies
- Day 4: your pages
- Day 5: the waitlist form
- Day 6: your web address
- Day 7: share it
- Common questions
- What if a task does not apply to me?
- Does the checklist ever go away?
- Can I do these in a different order?
What this is for
Take the setup at your own pace and publish when your website is ready. This is the order that saves you the most backtracking: settle how the site looks, add your animals, then open the door to families.
Where to find it
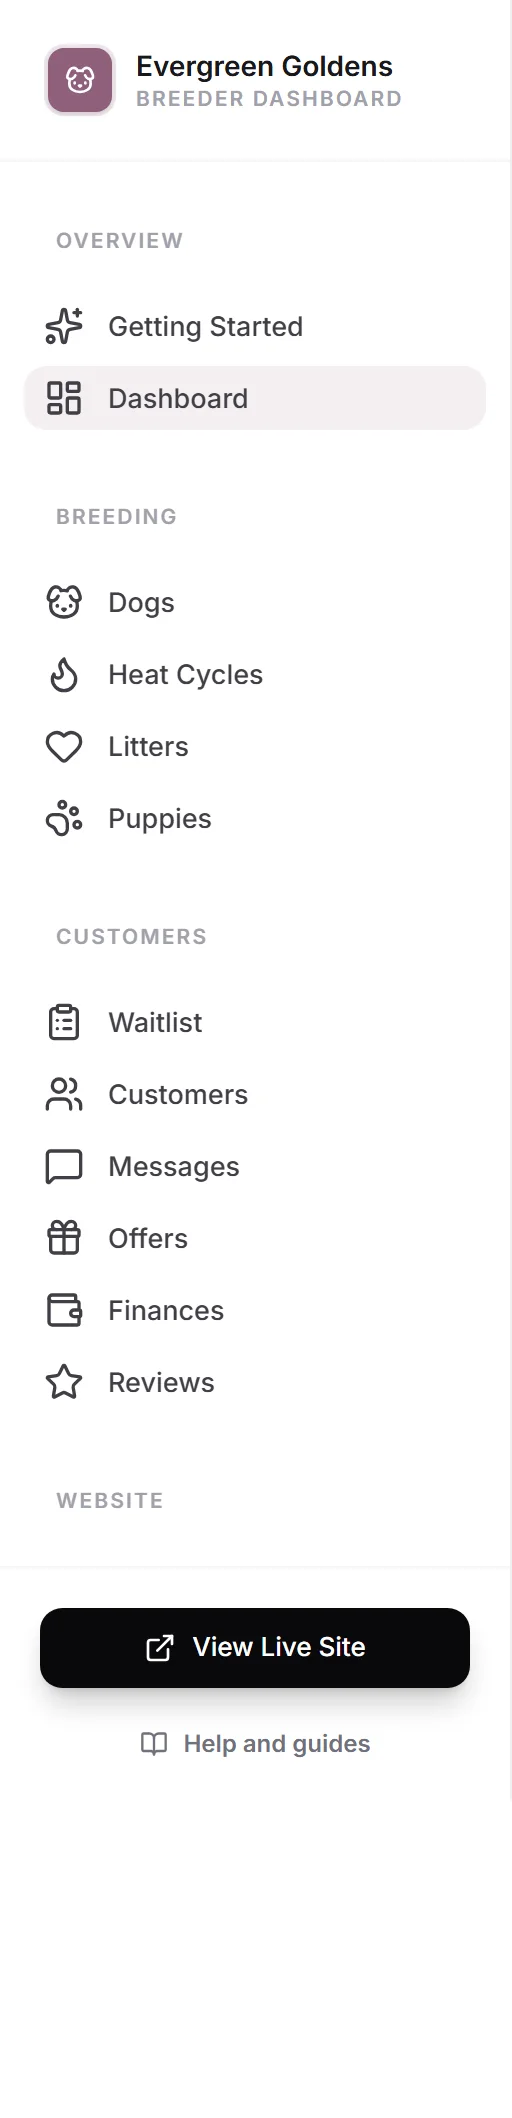
Whelpify keeps a running checklist for you. Look near the top of your dashboard menu. You will see either Website setup or Getting Started, depending on how far along you are. You never see both at once.
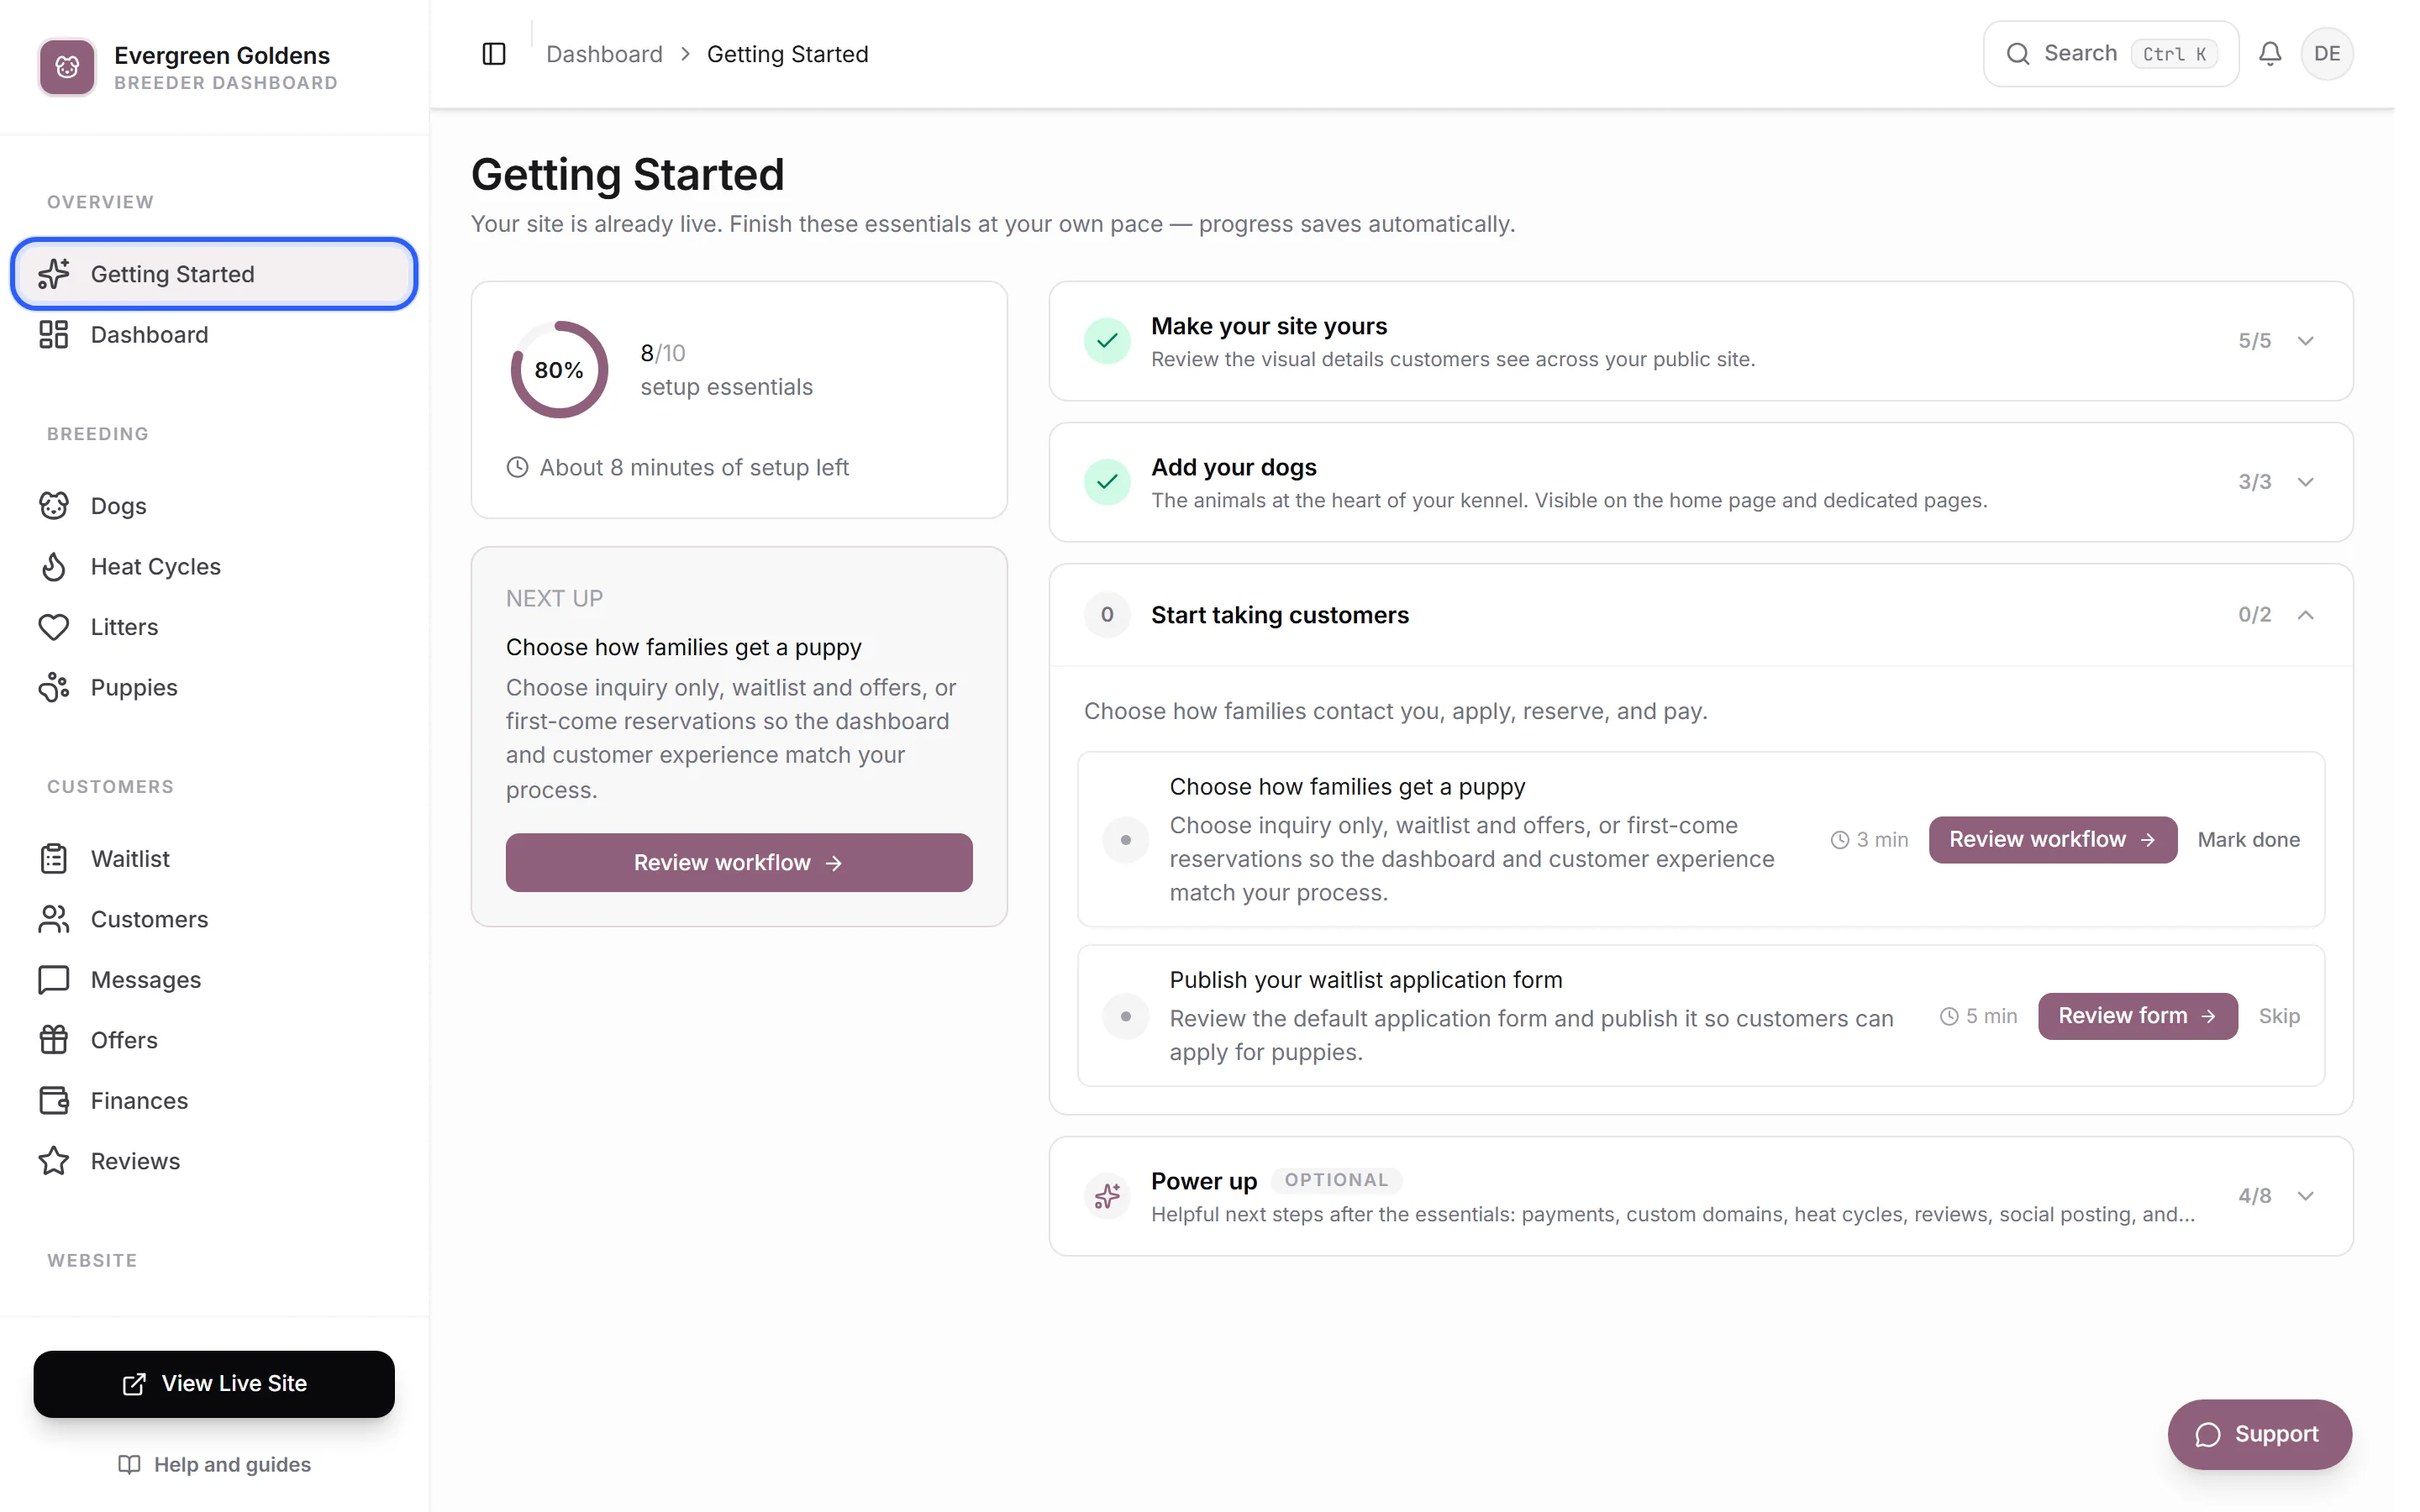
The Getting Started page shows a progress ring, a Next up card with the single thing to do next, and the tasks grouped into Make your site yours, Add your dogs, and Start taking customers. Extras live in a group called Power up. Each task has a button that takes you to the right screen, plus Skip if it does not apply to you. A short version of the same progress appears as a banner on your dashboard home page.
Day 1: settings and branding
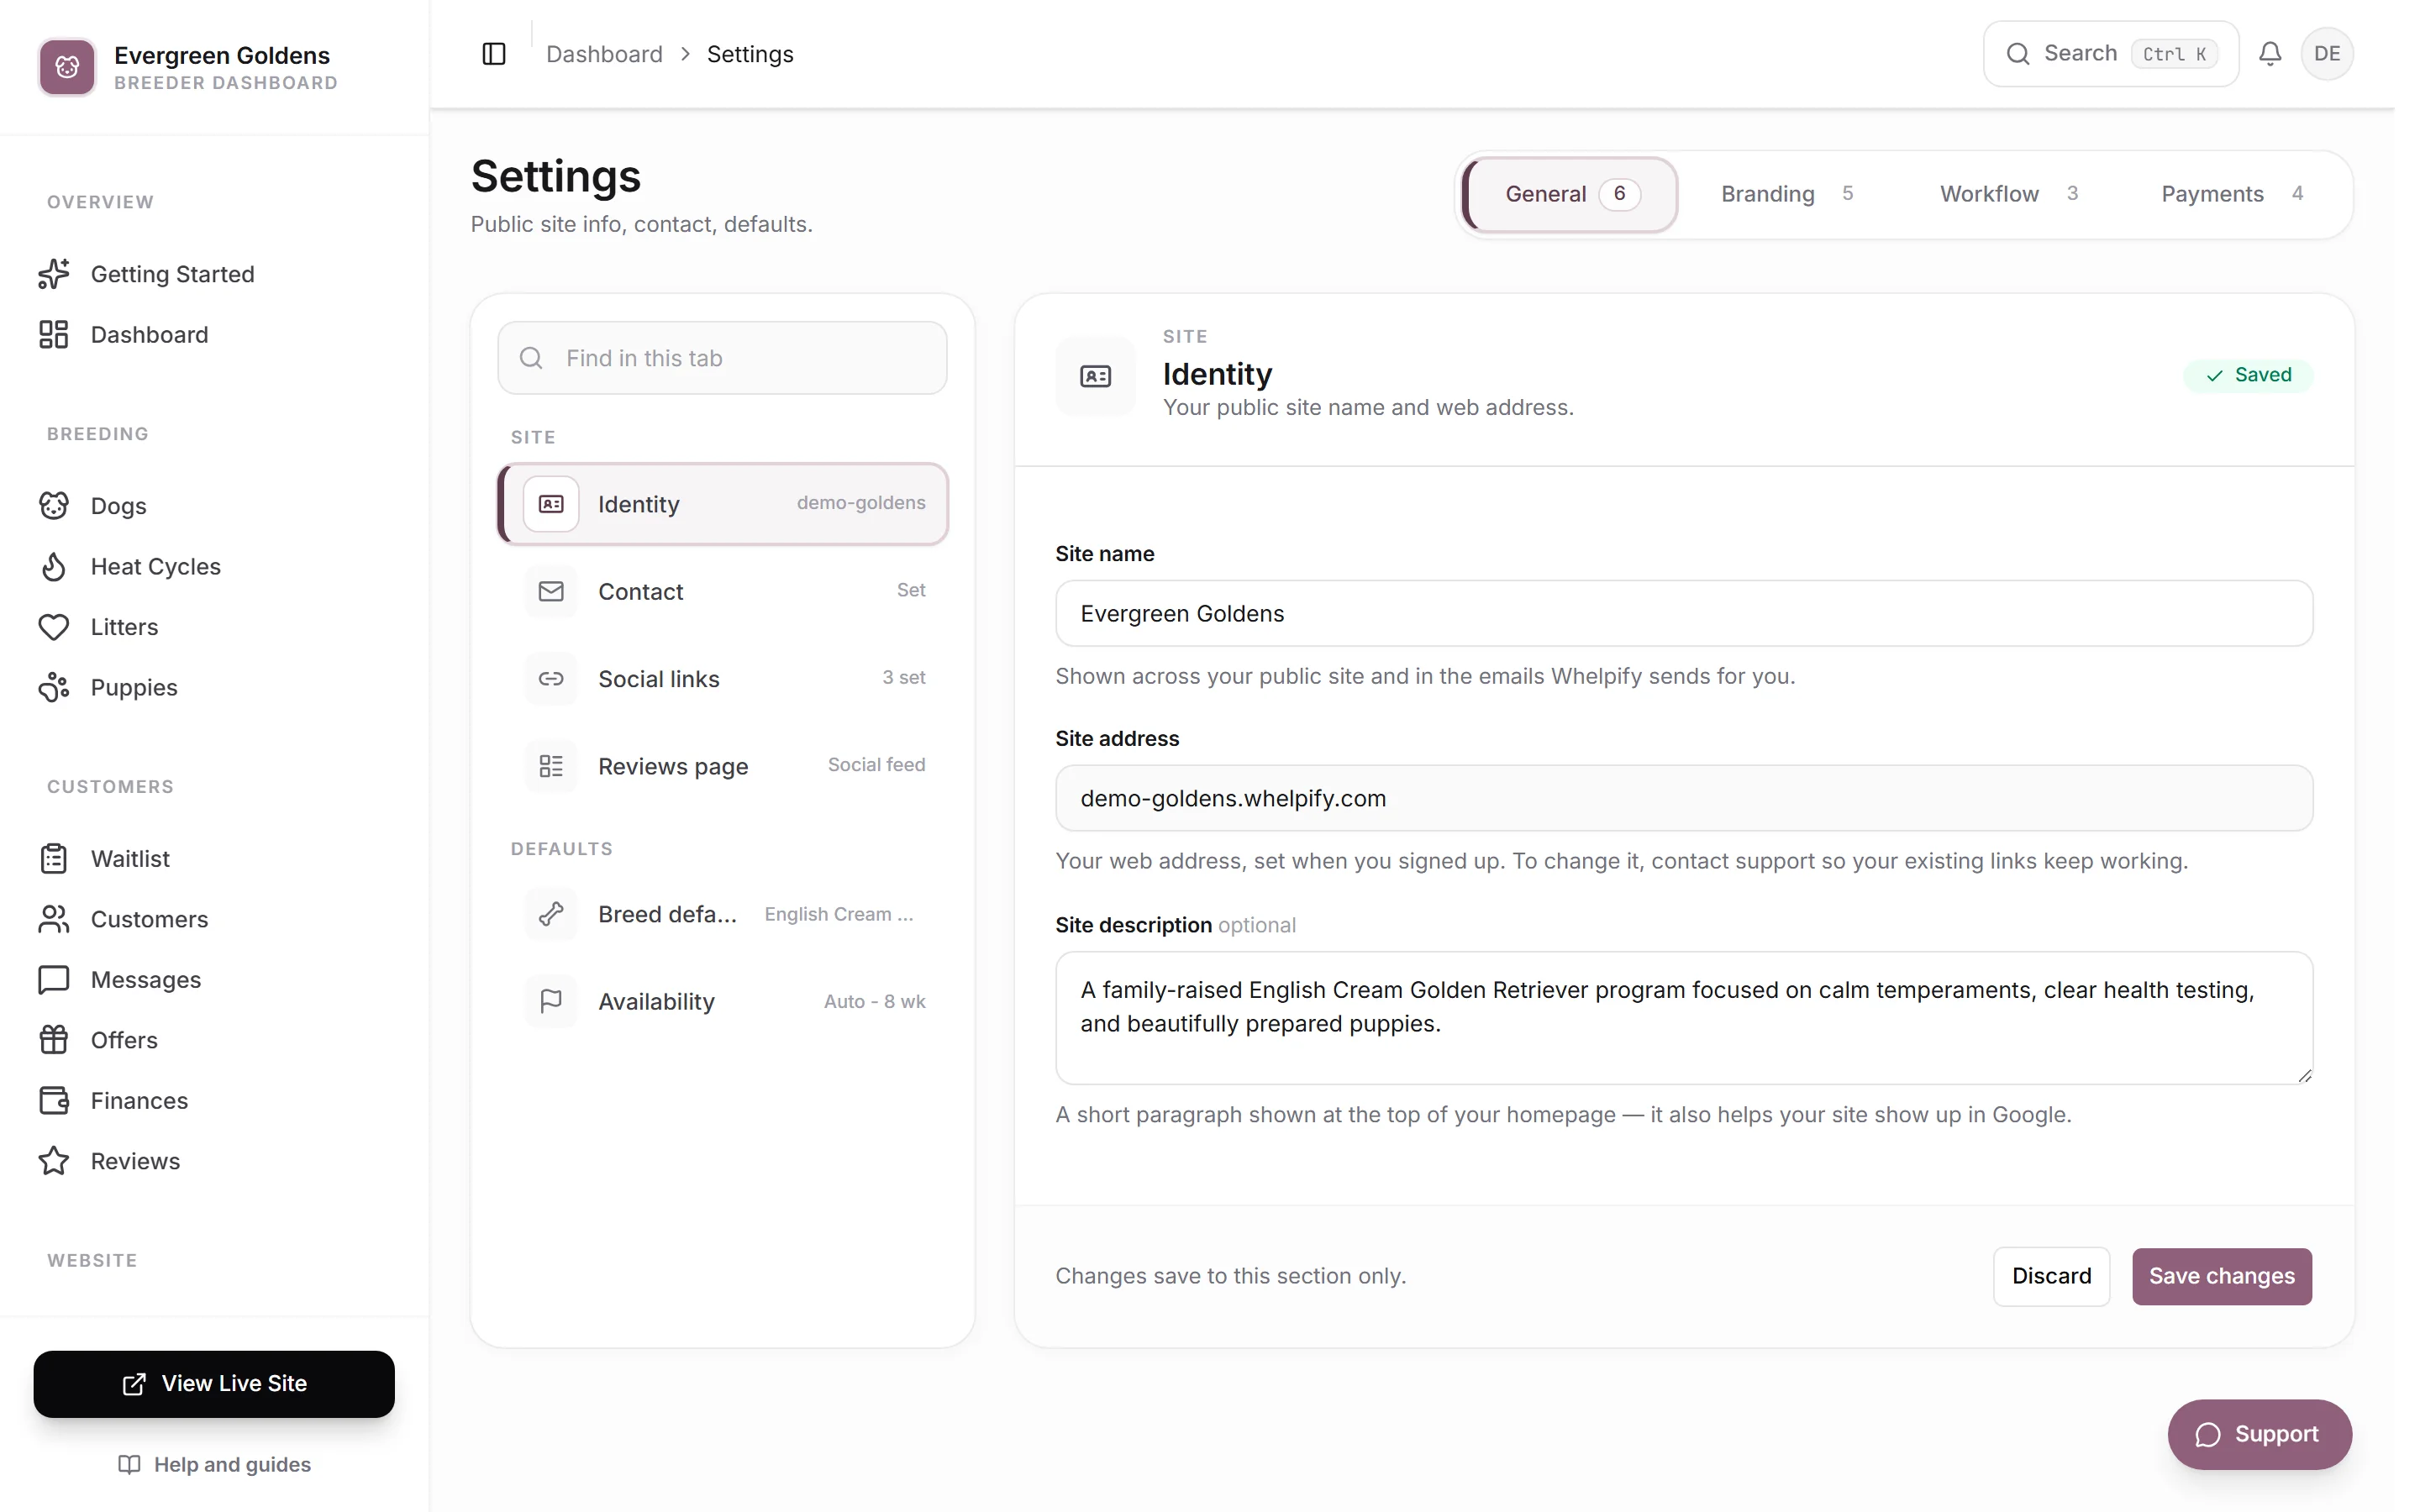
- Open Settings and add your contact email or phone, your location, and your social links. Details are in site settings.
- Still in Settings, upload your logo and choose your colors and fonts. See design, colors, fonts, and your logo.
If you signed up recently, the website setup wizard walks you through the same design choices as a series of questions.
Day 2: your dogs
Open Dogs and add your sires and dams. Photos and a short description matter more than filling every field. See adding and managing your dogs, and pedigrees, health testing, and titles when you are ready to add papers and test results.
Day 3: litters and puppies
- Open Litters and create your current or expected litter. See litters, from planned to born.
- Once puppies are on the ground, open Puppies and give each one a profile, a photo, a status, and a price. See puppies: profiles, status, and pricing.
Day 4: your pages
Open Pages and read your home page as a stranger would. Change the headline, swap in your own photos, and cut anything that is not true of your program. The page builder lets you edit section by section while you watch the page change.
Day 5: the waitlist form
Open Forms and review the application families fill in, then publish it. Ask only what you actually read. See forms: applications, questionnaires, and contracts, and the waitlist and applications for what happens after someone applies.
Day 6: your web address
Your free Whelpify address works immediately. If you own a domain, or want to buy one, open Domain and connect it. See connecting or buying a domain. Do this before you print anything or hand out the link.
Day 7: share it
Click View live site at the bottom of the sidebar and walk your own site the way a buyer will, on a computer and on a phone. A tour as a buyer sees it points out what to check. Then post the link where your families already are.
Common questions
What if a task does not apply to me?
Press Skip on that task. It stays marked complete and stops asking. A few tasks ask you to press Mark done instead, because Whelpify cannot tell on its own whether you have made the decision.
Does the checklist ever go away?
Yes. Once the required tasks are complete, the checklist and its banner disappear from the sidebar and the home page.
Can I do these in a different order?
Of course. The only real dependency is that a litter needs its parent dogs first, and puppies need a litter.
Still stuck? Email info@whelpify.com and a real person will help.